Explanation of connecting Webmail mail to iOS, Android and Outlook 2013
Today we offer you a photo explanation of how to link Webmail email to iOS, Android and Outlook 2013
Connect Webmail to iOS
1- From the main screen, choose Settings .. Then Mail, Contacts, Calendars and click on Add Account located under the actual systems available on your device.
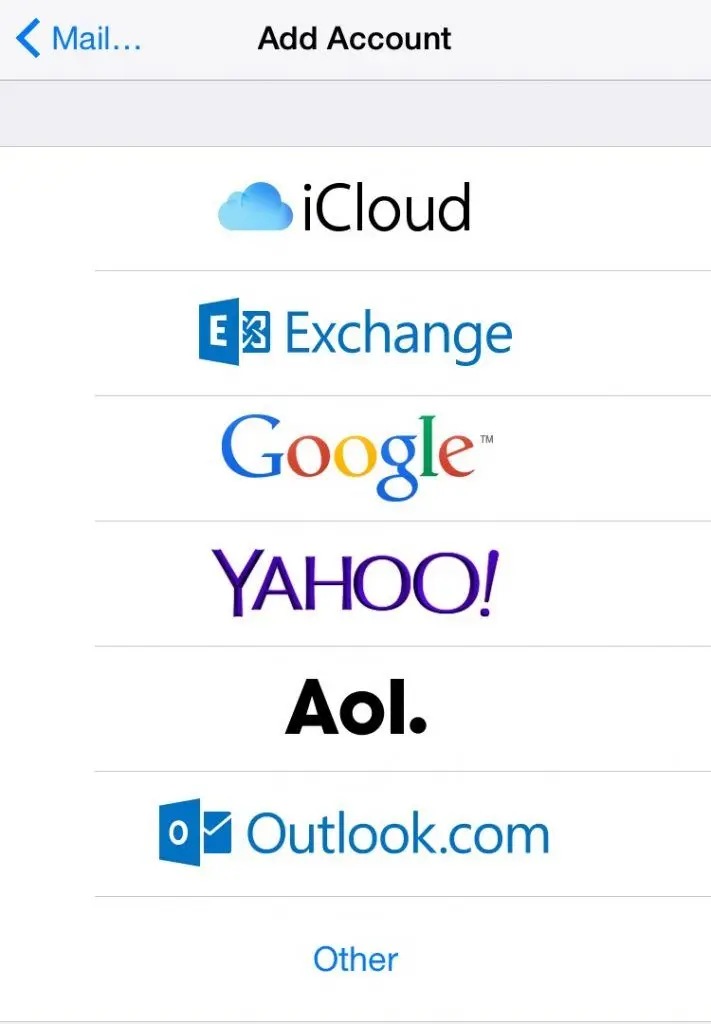
2- Click on Other to connect the web mail to your device.
3- Now, click on the Add Mail Account in the first selection to start linking steps.
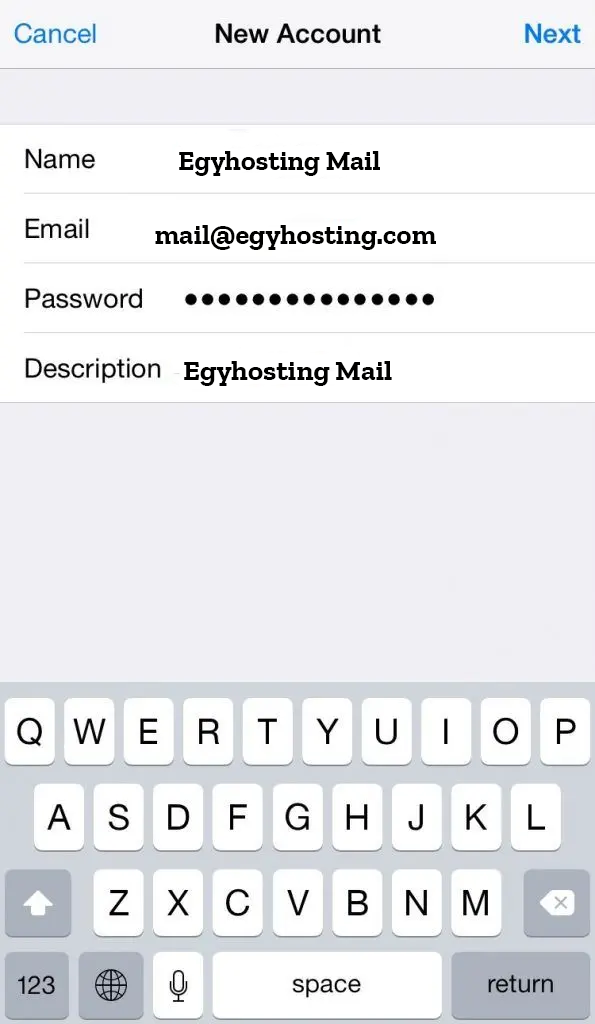
4- Fill in the fields: (Name - Email - Password - Description that you want the email to appear on your device).
5- You will go to the New Account screen .. In this screen you must enter the information of the Incoming Mail Server and the Outgoing Mail Server.
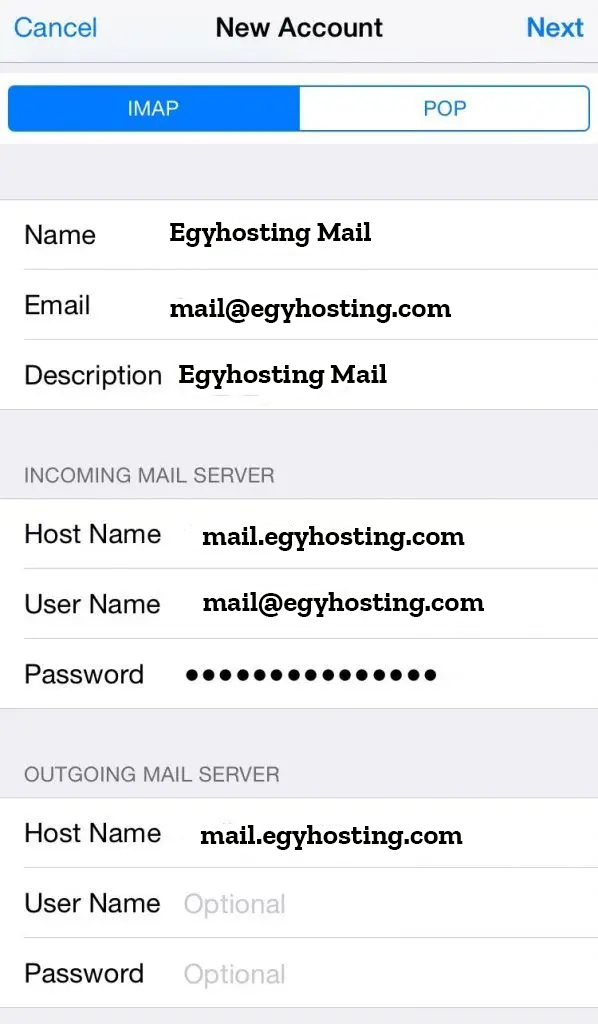
Incoming Mail Server
- Host Name .. Type the IP server on which your Webmail mail is located.
- Username .. Enter your full e-mail .. like mail@egyhosting.com
- Password .. Type your e-mail password on Webmail
Outgoing Mail Server
Fill out the information in the same format that you wrote in the Incoming Mail Server boxes. In order to be able to contact Contacts, you must primarily enter this data, these fields are necessary.
After confirming that you have filled out all the data .. we will move to the most important step for installing Webmail on your iOS system.
After filling in the data of the Incoming Mail Server and the Outgoing Mail Server .. click Next. If you do not find any errors, this means that you have completed the steps properly.
Connect Webmail to Android
Thus, an explanation of the steps to link the Webmail to most devices that use the Android system:
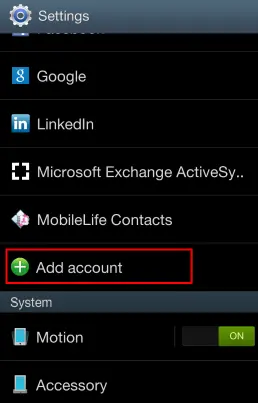
1- Search for and access Settings on your device.

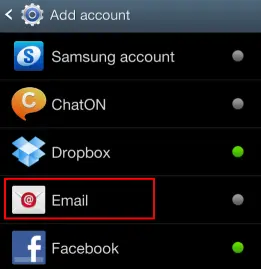
2- From within the Settings .. search and click on Add Account.
3- Search and login to Email.
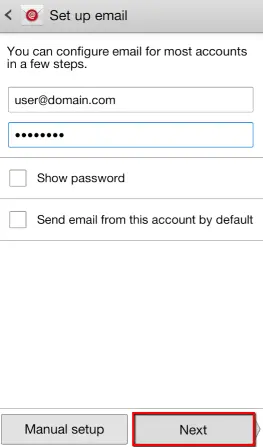
4- Type your email on Webmail and password ... then click Next.
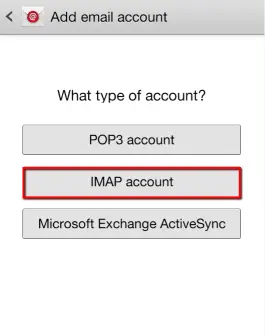
5- Choose IMAP account system.
6- Write the data of the Incoming Mail Server according to the server on which your e-mail is located, as follows:
- Username .. write your e-mail in full format .. like webmail@egyhosting.com
- Password .. Type your e-mail password on Webmail
- IMAP Server .. Type the IMAP for your domain ... such as mail.egyhosting.com
– Security Type .. Choose None
- The port .. is written 143
– IMAP Path Prefix .. Leave this field blank.
Then click on Next.
7- Write Outgoing Mail Server data according to the server on which your email is located .. as follows:
- SMTP Server .. Type the SMTP for your domain ... like mail.egyhosting.com
- Security Type .. Choose None
- The port .. is written 25 .. and if it does not work with you then try 26
- Username .. Enter your full e-mail .. like mail@egyhosting.com
- Password .. Type your e-mail password on Webmail
Then click on Next.
8- Type the name of the e-mail that you want to appear on your device .. You are free to choose it.
Connect Webmail to Outlook 2013
1- Make sure from the beginning that you got the Incoming Mail Server, the Outgoing Mail Server .. and the e-mail and password.
2- Open Outlook 2013.
3- Click on File.
4- Click Info on the left.
5- Then click on Account Settings from the drop-down menu like the following image.
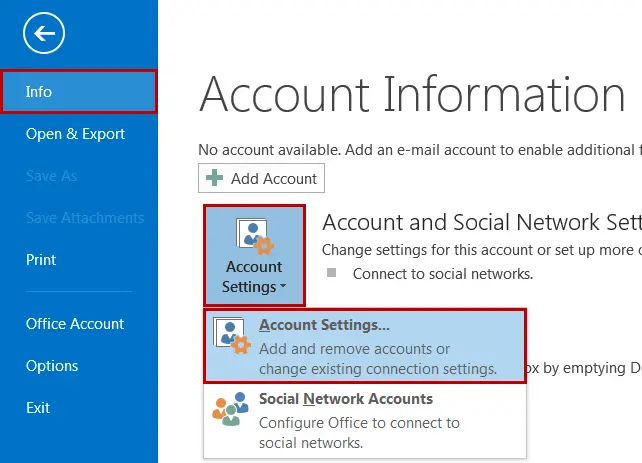
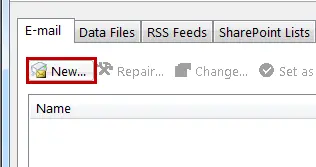
6- From the bottom of the Email field, click New
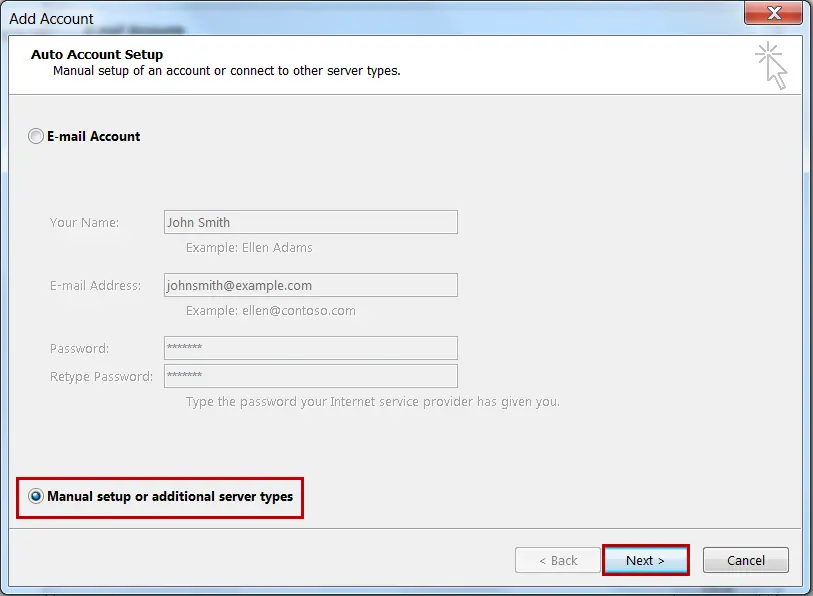
7- Choose Manual setup or additional server types .. then click Next
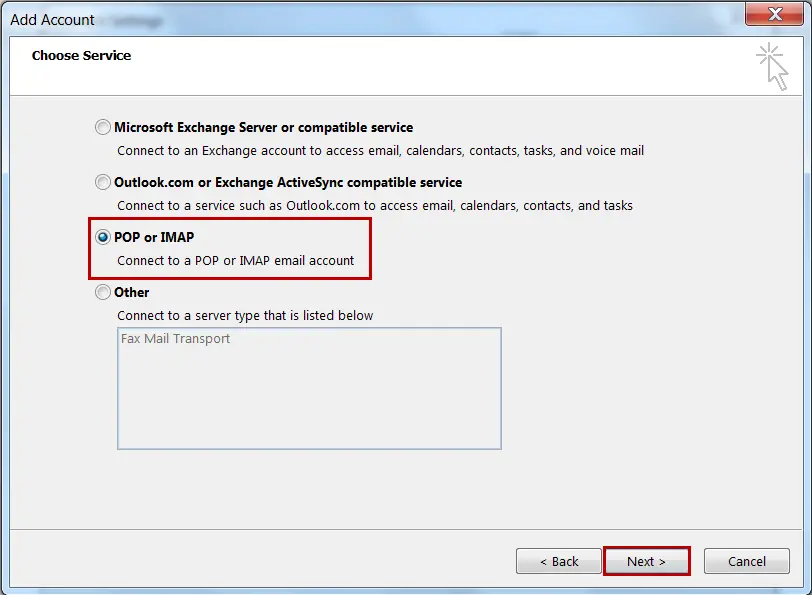
8- Choose POP or IMAP .. then click Next
9- Fill in the blank fields as follows:
- Your Name .. The name you want to appear for the people you are writing to.
- Email Address .. The e-mail you are sending from.
- Account Type .. Choose POP3 or IMAP from the drop-down menu.
- Incoming mail server .. is typed as pop.example.com or imap.example.com with example.com replaced by your site's domain.
- Outgoing mail server .. it is written as smtp.example.com with example.com replaced with your site's domain.
- Username .. Enter your full e-mail .. like mail@egyhosting.com
- Password .. Type your e-mail password on Webmail
- Deliver new messages to .. You are free to choose whether or not to create a new data file .. This command will not affect the work of the email.
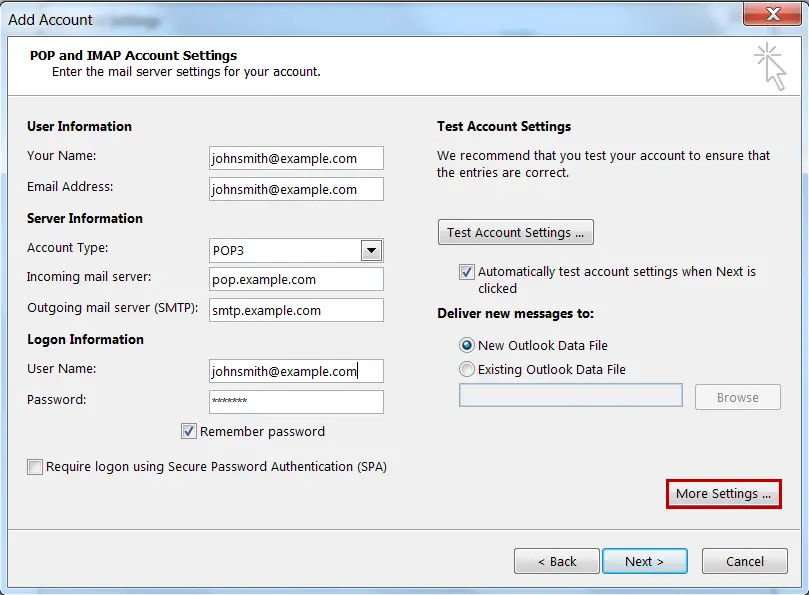
10- Click on More Settings.
11- Check the Outgoing Server field.
12- Choose My outgoing mail server (SMTP) requires authentication and use the same settings as incoming mail server.

